Your studio guide.
Three steps to your first render: pick a tool, write a short prompt, hit go. Every tool below tells you when to use it and gives you a starter prompt. No jargon. No setup. No account needed to read this.
Write in any language
davay.space is a multi-language-capable prompting machine. Type your prompt in Indonesian, English, Spanish, Japanese — whatever you're comfortable with. We translate it for the AI behind the scenes. Language is no longer a barrier.
All four prompts above produce the same render. Pick whichever feels natural.
How to talk to the AI
There are two ways to write a prompt. Which one you use depends on whether you start with a photo or not.
When you start from nothing
Used by: Create Concept, Object Render, Full Render.
You describe what you want from scratch. Be specific about the subject, the style, the lighting, and the mood.
"modern villa, travertine and dark wood, golden hour, infinity pool"↑ Subject (villa) + style (travertine and dark wood) + lighting (golden hour) + extra detail (infinity pool).
When you start from a photo
Used by: Refine, Revise, Hair Edit, Try-On, Background Swap, and most other tools.
You describe two things: what to keep, and what to change. The AI tries hard to preserve the rest.
"preserve face and outfit, change hair to short bob with bangs"↑ Keep (face and outfit) + change (hair style + description).
Tip: short prompts beat long prompts. 1–2 sentences is enough. The AI fills in the gaps. And remember — write in your own language. We translate.
The 16 tools, explained
Click any card to open the guide for that tool.
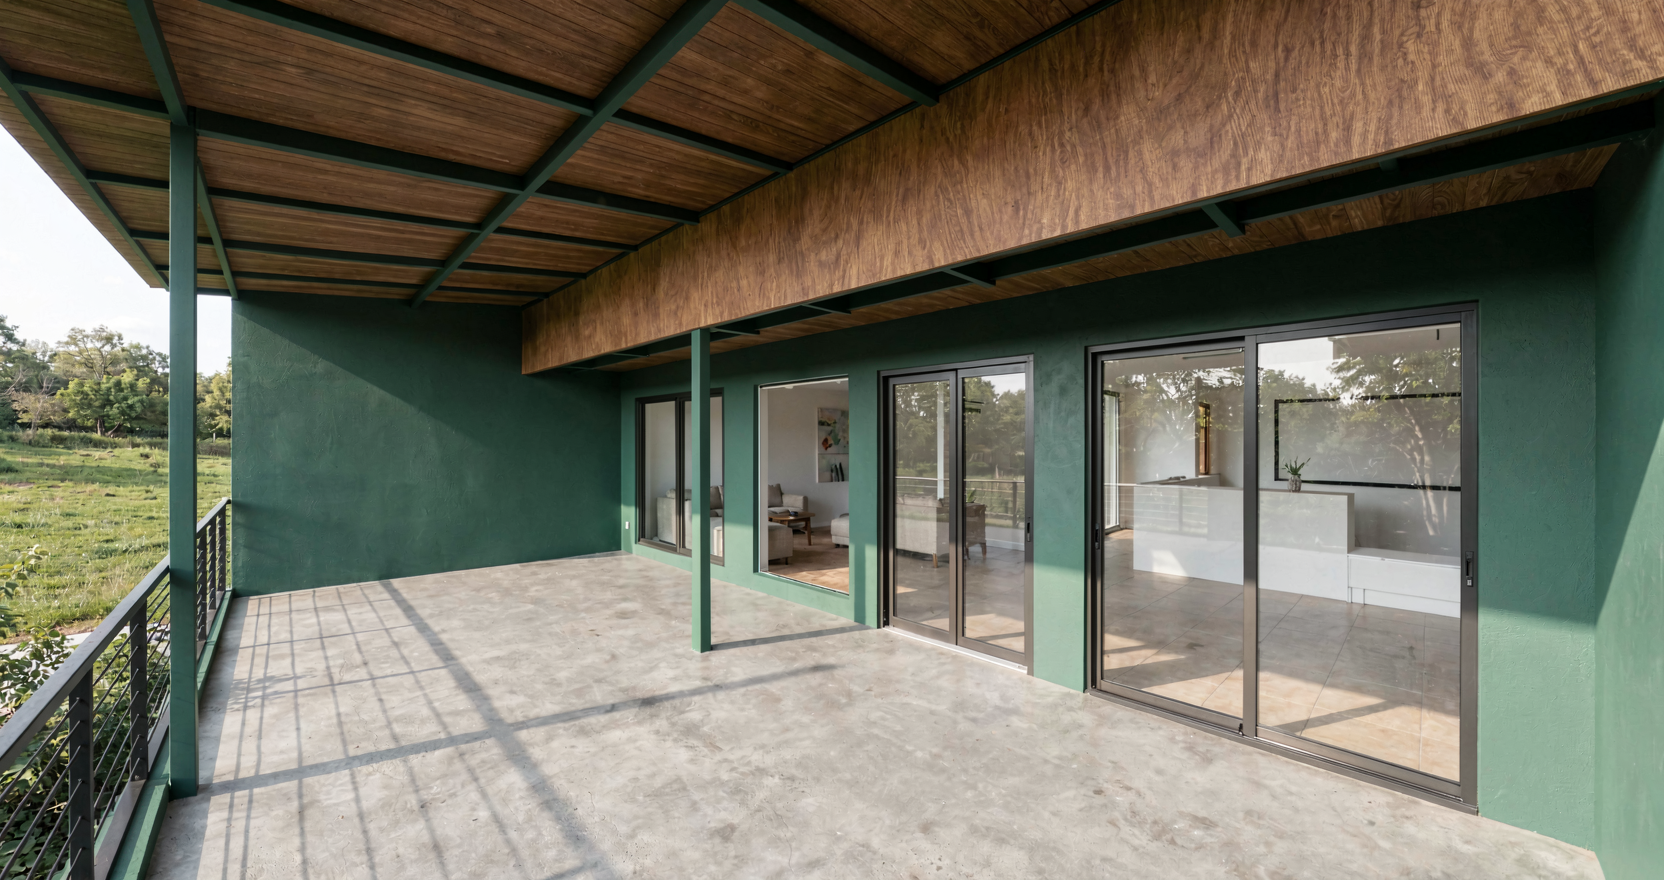
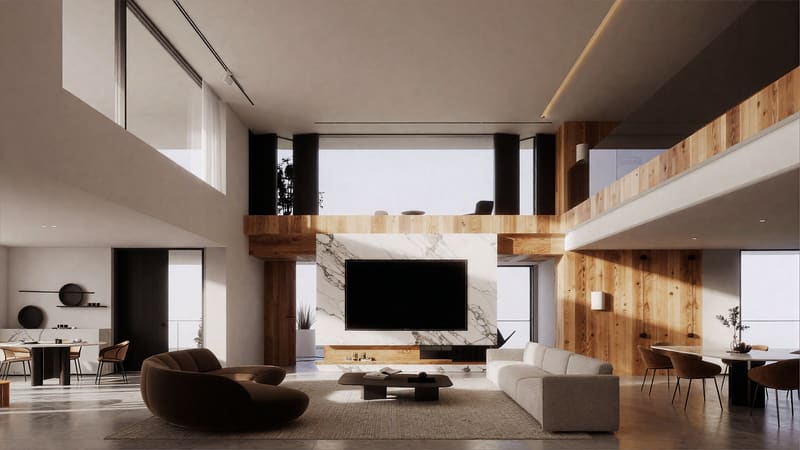
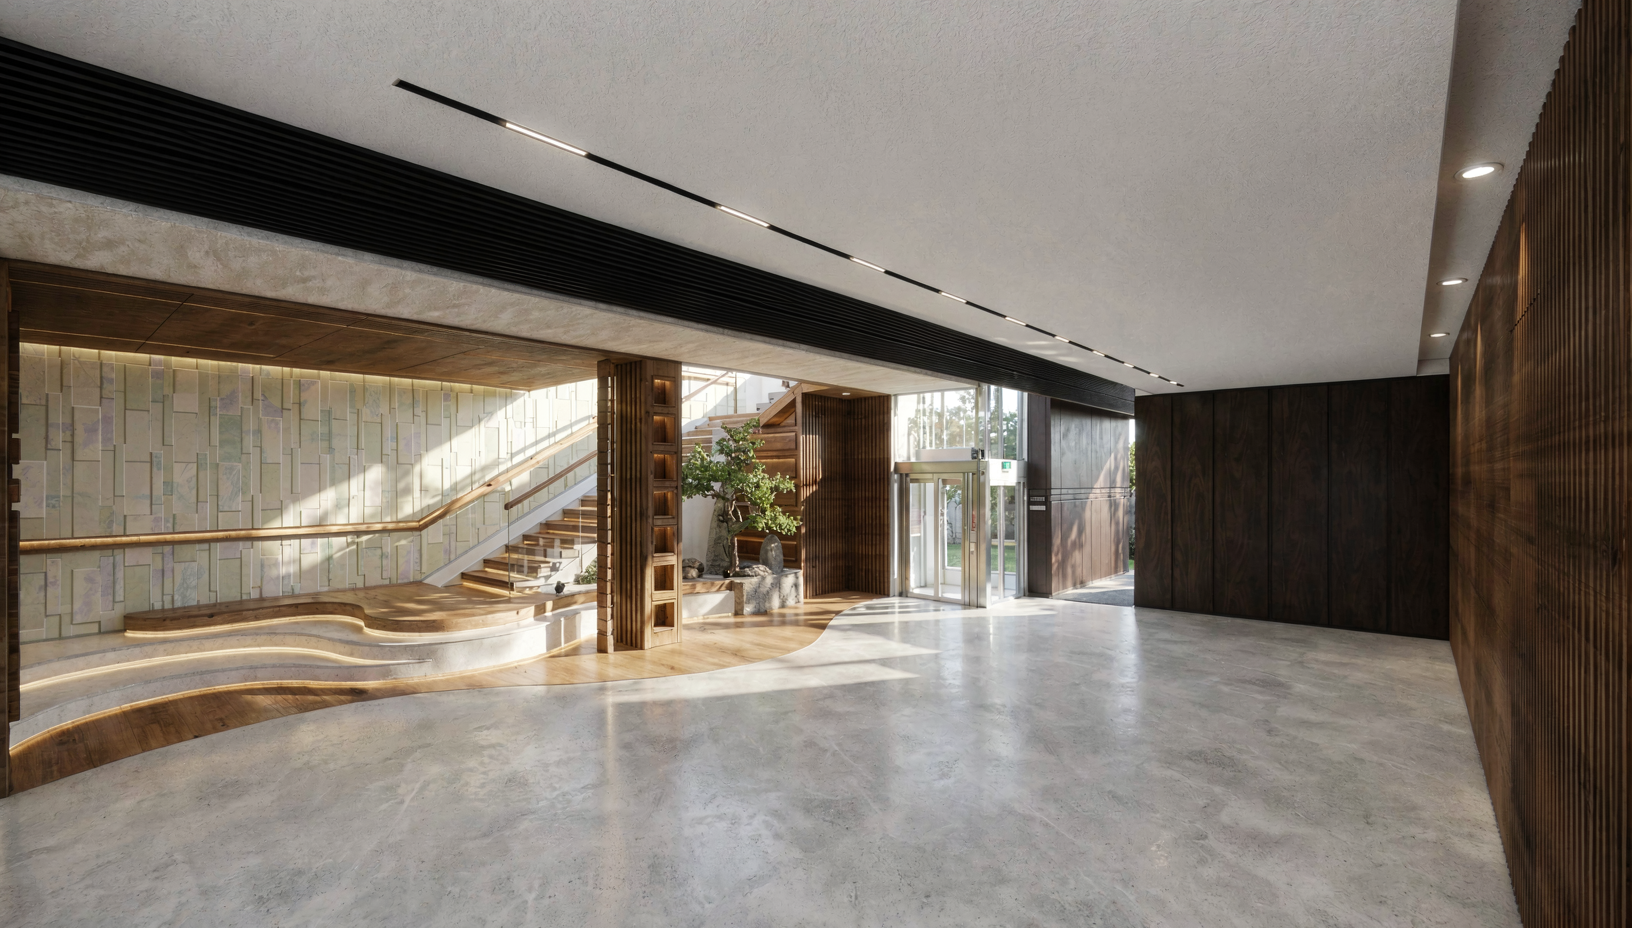
Architecture & Interior
Turn 3D screenshots and rough sketches into photoreal architecture.
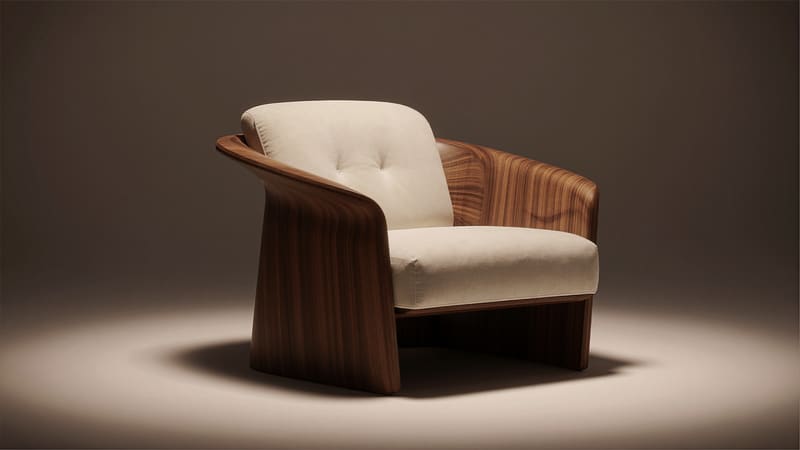
Object Render
Make one 3D screenshot look like a real photo.
INSTRUCT prompt3 tokens
Object Render
Make one 3D screenshot look like a real photo.
You modeled one piece (a chair, a lamp, a single building) in 3D and want a magazine-quality photo of just that piece — no busy scene around it.
modern lounge chair on a soft platform, warm afternoon light, lifestyle photograph, photoreal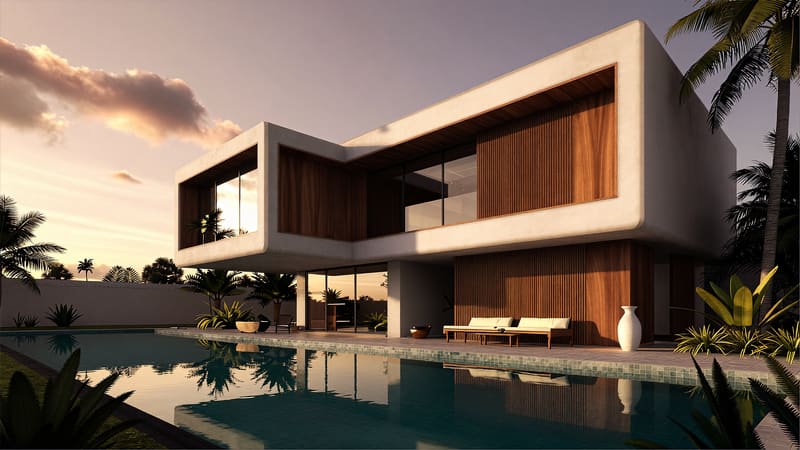
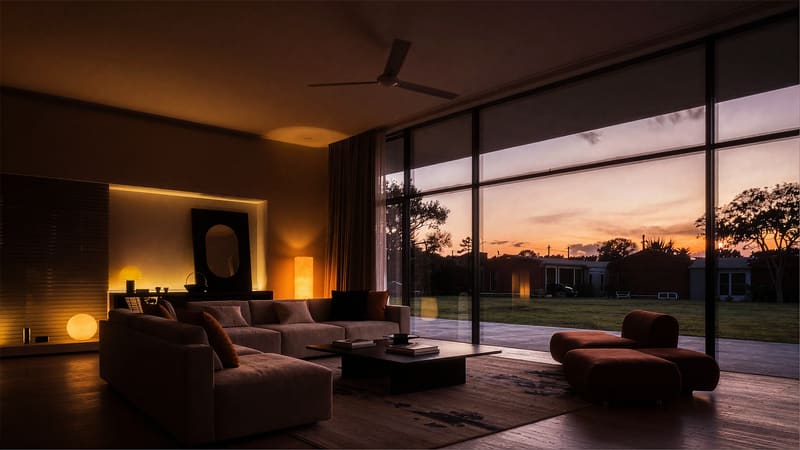
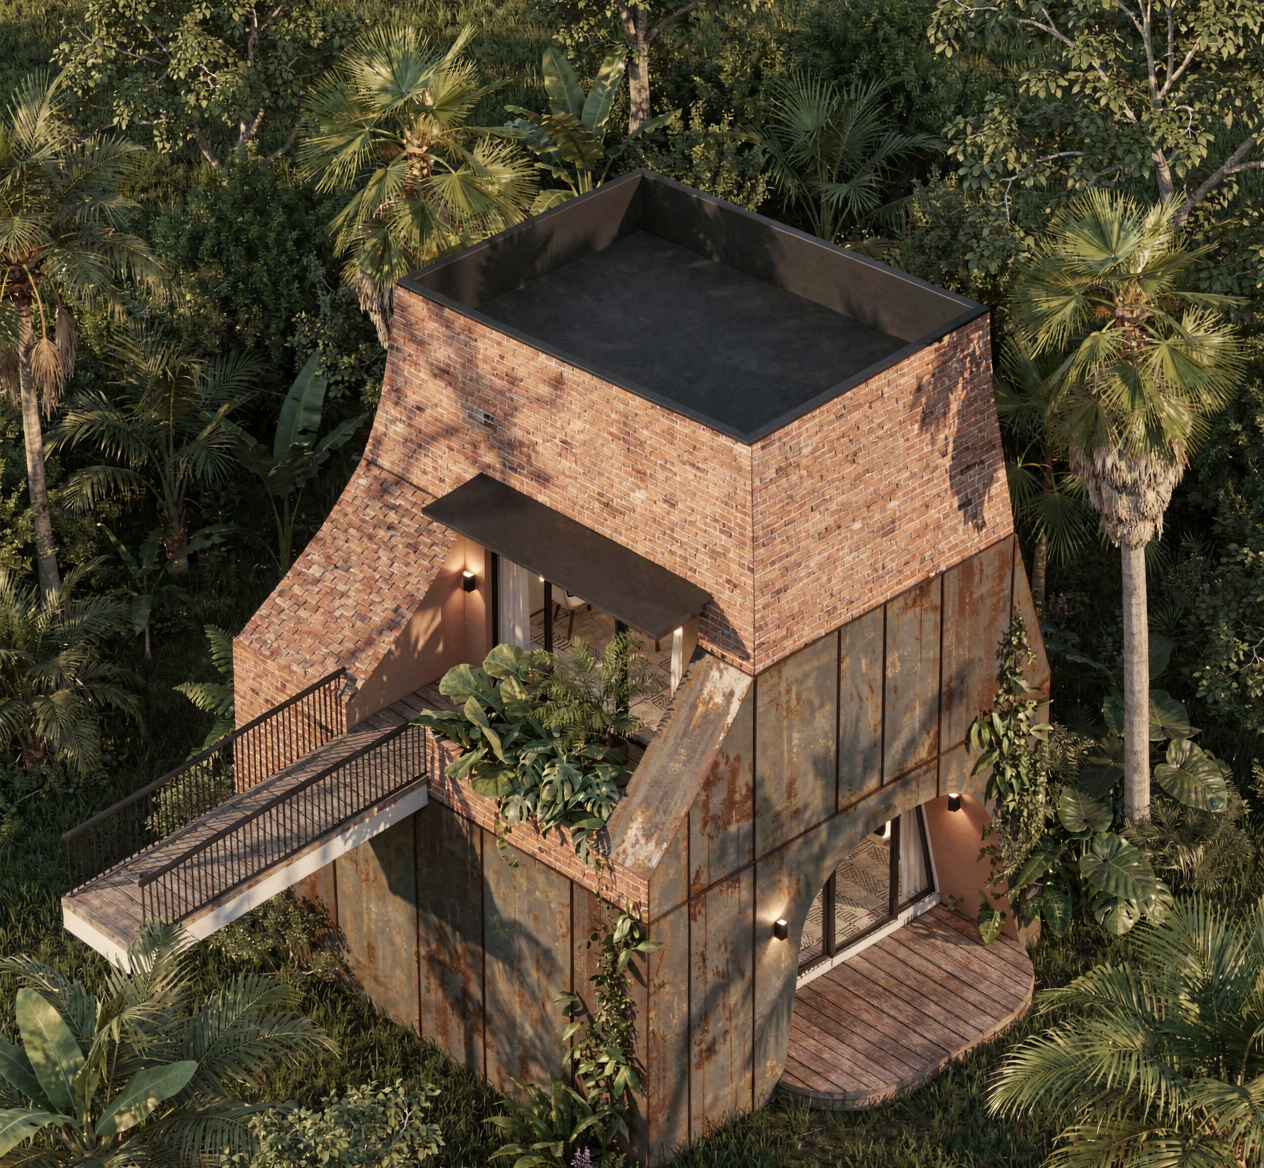
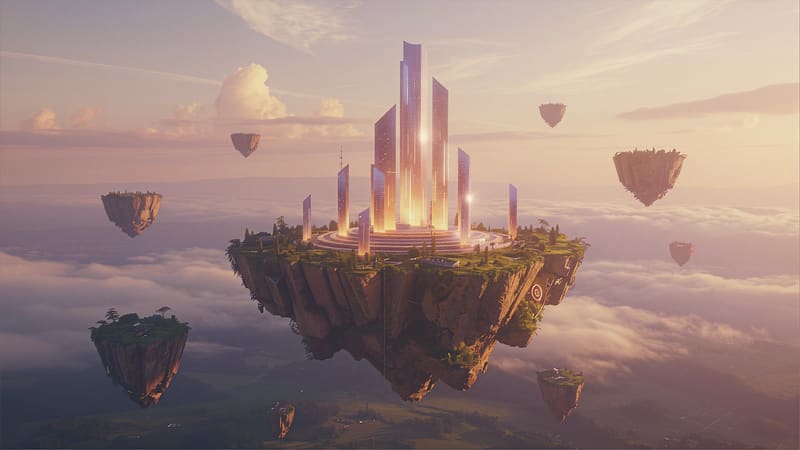
Full Render
Turn a whole 3D scene into a real photo.
INSTRUCT prompt3 tokens
Full Render
Turn a whole 3D scene into a real photo.
You have a complete 3D view — interior, exterior, garden — and want it to look like the building was already built and shot by a real photographer.
modern Bali villa exterior at golden hour, infinity pool reflecting the sky, lush tropical garden, dramatic cinematic light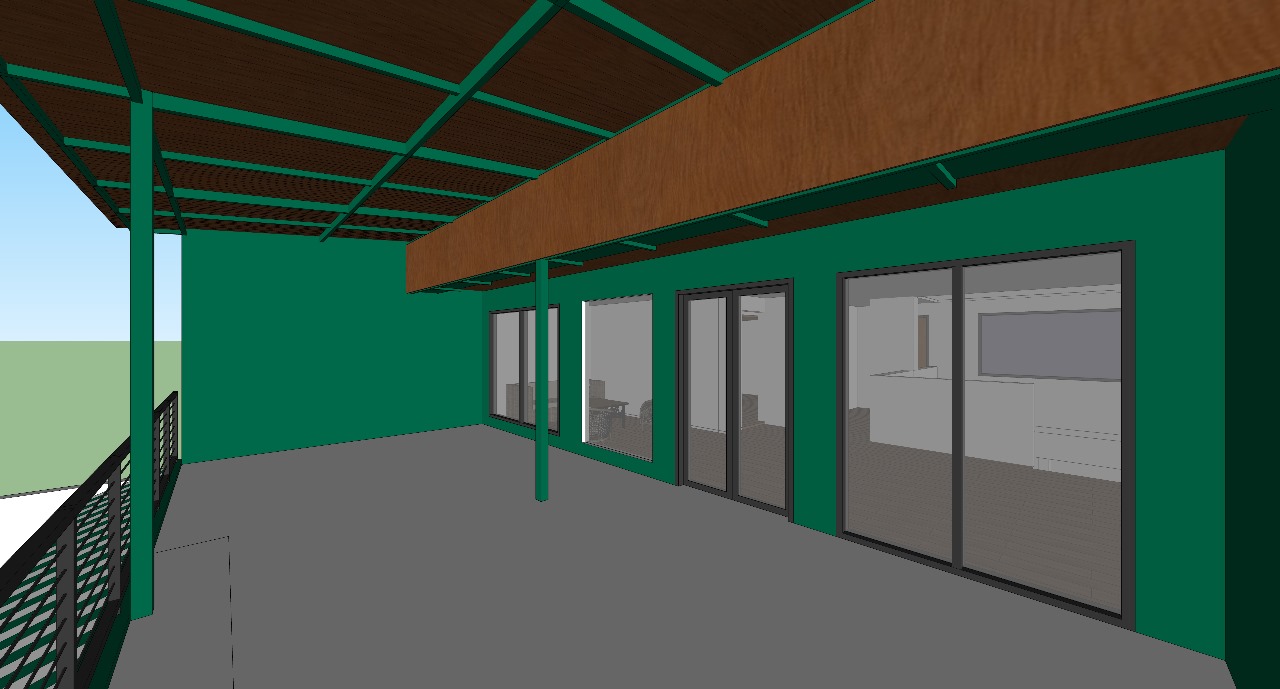
Full Render Edit+BETA
Edit four parts of one image at once.
ALTER prompt5 tokens
Full Render Edit+BETA
Edit four parts of one image at once.
You like 90% of a render but want to tweak the floor, the ceiling, and the sofa — separately, in one go. The tool finds the parts for you; you just describe how each should change.
floor: oak herringbone, ceiling: white plaster, sofa: olive green velvet, walls: warm beige limewash
Refine
Sharpen a render that came out soft.
ALTER prompt2 tokens
Refine
Sharpen a render that came out soft.
Your render is fine overall but the textures look fuzzy — wood grain mushy, fabric blurry, edges soft. Refine pulls clarity out of the mid-tones without redrawing the scene.
preserve composition and lighting, sharpen wood grain and fabric texture, clean up edges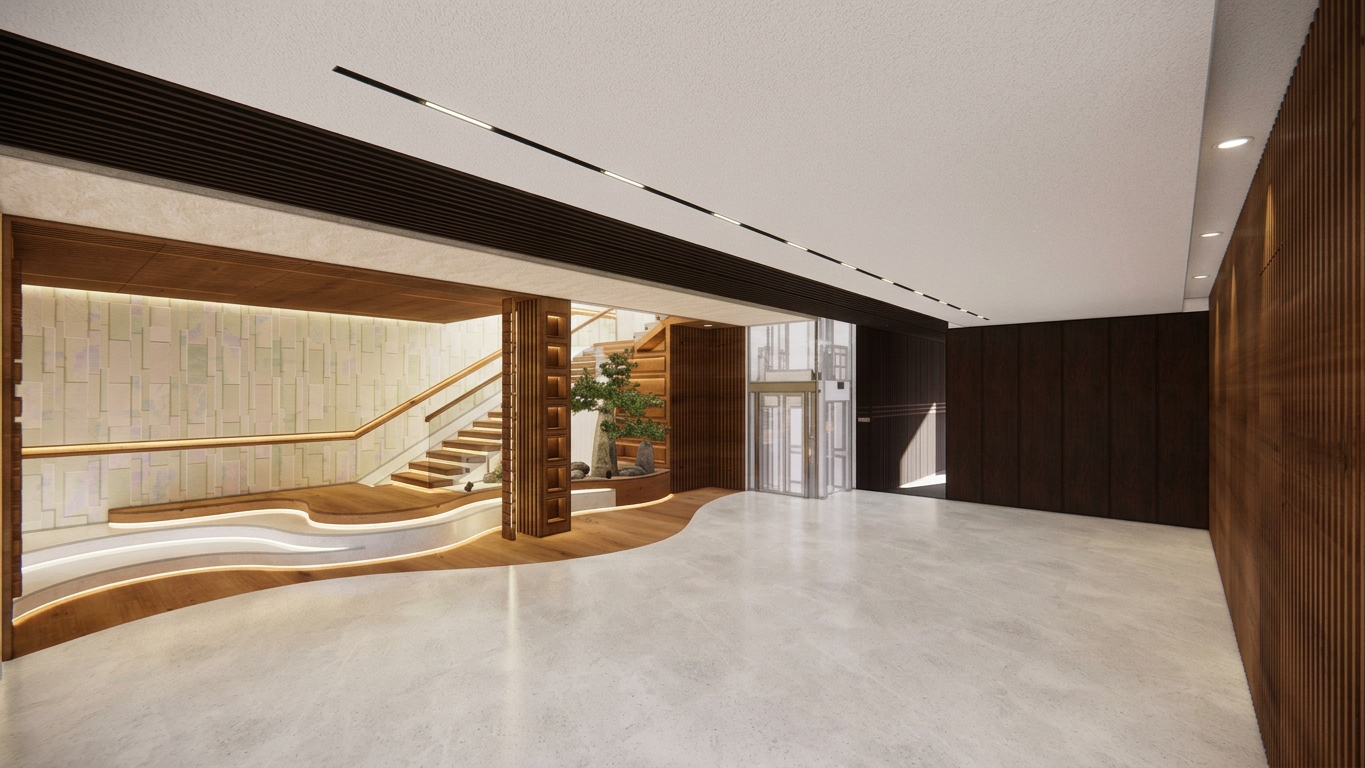
Revise
Redo a render with a different mood.
ALTER prompt2 tokens
Revise
Redo a render with a different mood.
Same room, different time of day. Same layout, different material palette. The subject and composition stay; the atmosphere shifts.
same room, evening sunset light, warm amber lamps, moody atmosphere, preserve layout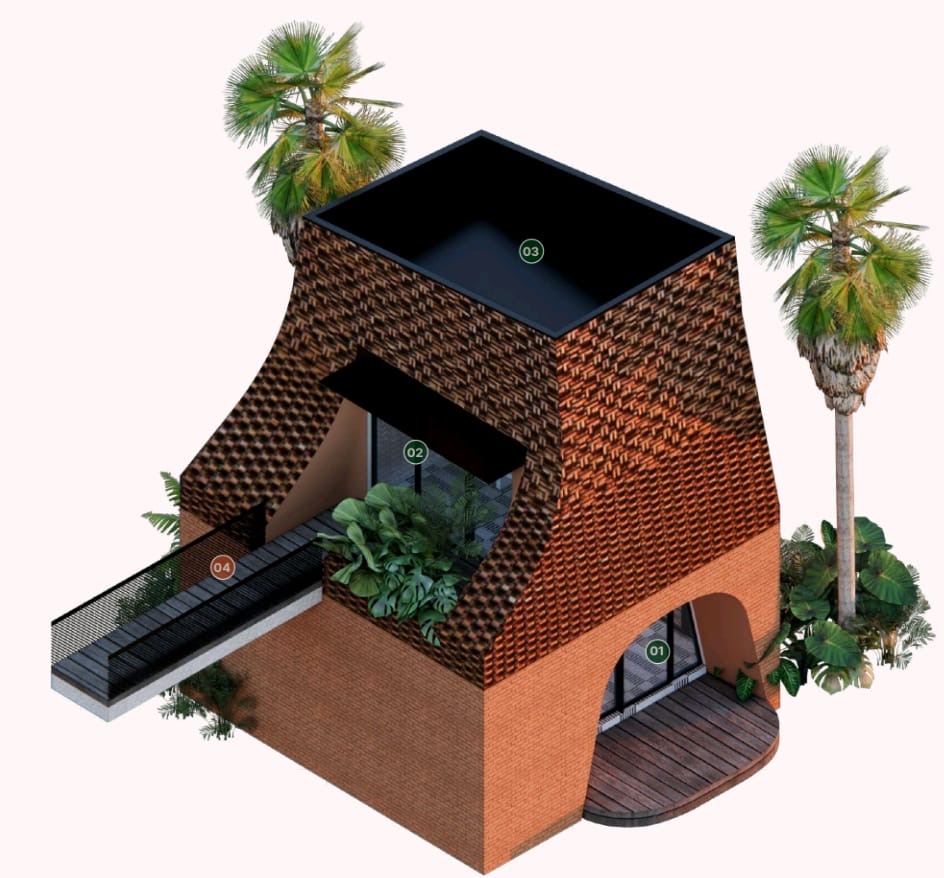
Outfits & People
Edit garments, hairstyles, and portraits.
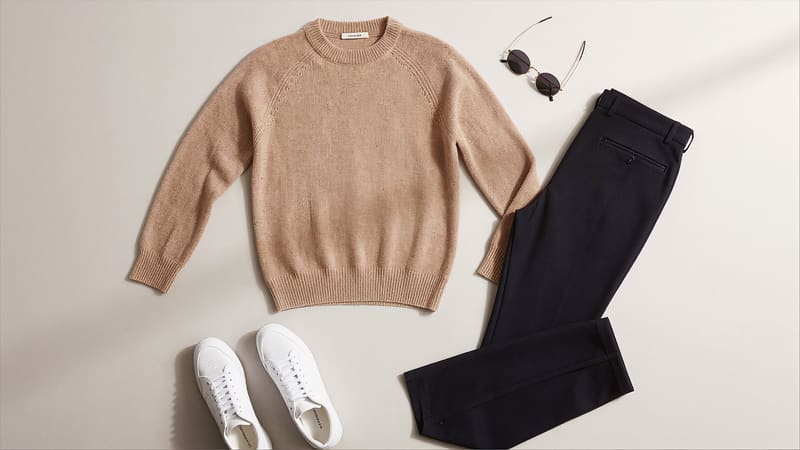
Extract Outfit
Pull the outfit off a model — get a clean flat-lay.
No prompt needed1 token
Extract Outfit
Pull the outfit off a model — get a clean flat-lay.
You shot the product on a person and need a clean flat-lay on white for your marketplace listing. No prompt needed.
Upload your photo and hit go. No prompt needed.
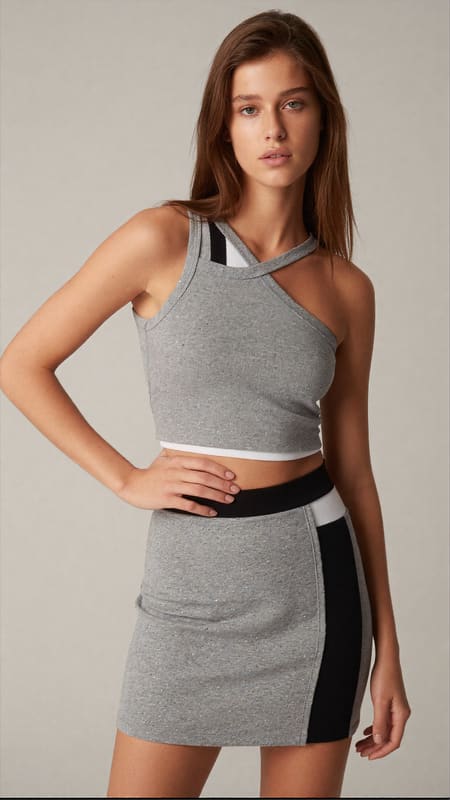
Virtual Try-On
Put any outfit on any person.
ALTER prompt2 tokens
Virtual Try-On
Put any outfit on any person.
Show a customer how the outfit looks on them — or on a model that matches their body type — before they buy.
studio light, full-body shot, preserve the subject's face and pose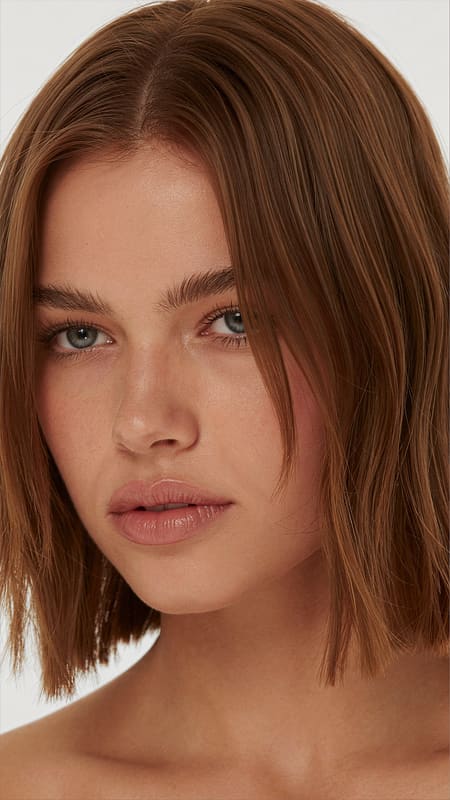
Hair Edit
Change just the hair. Keep everything else.
ALTER prompt1 token
Hair Edit
Change just the hair. Keep everything else.
Try a different hairstyle on a portrait. The face, skin, outfit, and background stay exactly the same — only the hair shifts.
preserve face and outfit, change hair to a short bob with side bangs, natural light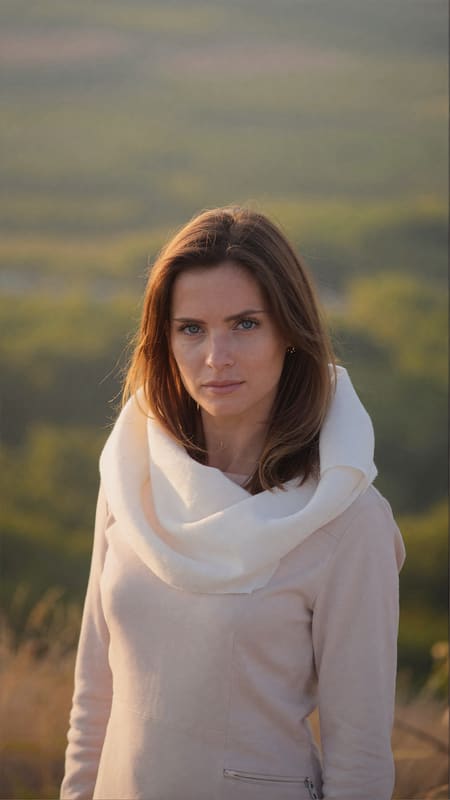
Background Swap
Move the person to a new scene.
ALTER prompt1 token
Background Swap
Move the person to a new scene.
Same model, sunset beach instead of studio. The person stays untouched; only what's behind them changes.
place the subject against the new scene, soft golden hour light wrapping around the subject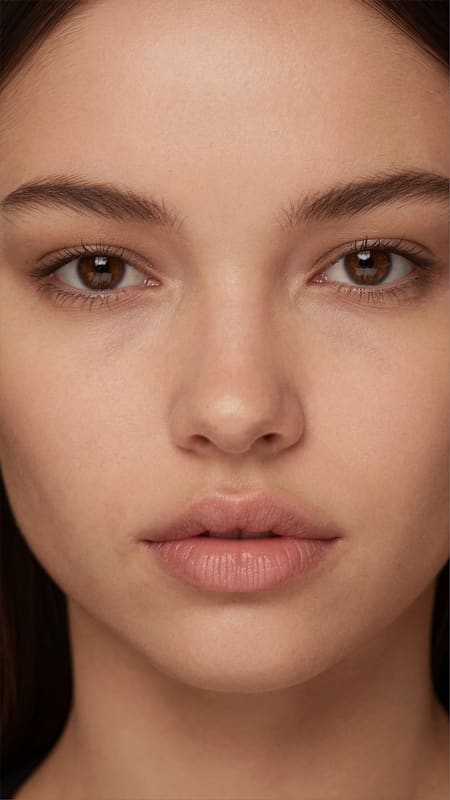
Refine Subject
Sharpen a portrait without ruining the skin.
ALTER prompt2 tokens
Refine Subject
Sharpen a portrait without ruining the skin.
Same as Refine but tuned for people. Pulls out fabric weave, hair strands, and accessories without amplifying skin pores or adding body hair.
preserve face and skin tone, sharpen hair strands and fabric details, no extra skin textureProduct Photography
Marketplace-ready product shots.
Extract Product
Cut the product out of any background.
No prompt needed1 token
Extract Product
Cut the product out of any background.
You have the product in a busy scene; you need it isolated on clean white for a listing. No prompt needed.
Upload your photo and hit go. No prompt needed.
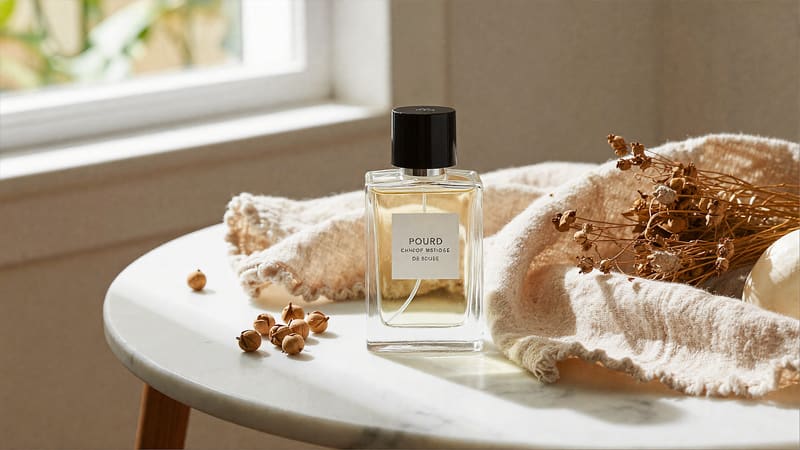
Background Swap (Product)
Put the product into a styled scene.
ALTER prompt1 token
Background Swap (Product)
Put the product into a styled scene.
You have a clean product photo; you want it on a marble tabletop with linen and dried botanicals next to it. The product stays exactly the same; the world around it changes.
place the product on the new surface, warm window light, lifestyle commercial photography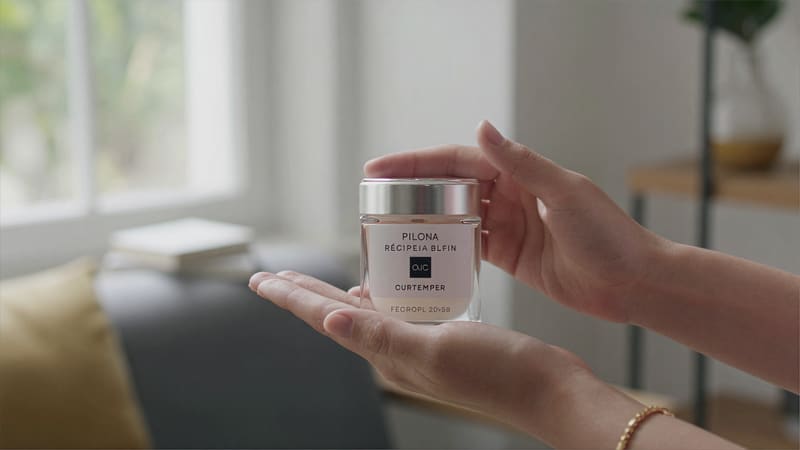
Product Restage
Show the product being held, used, or styled.
ALTER prompt2 tokens
Product Restage
Show the product being held, used, or styled.
Hand holding the bottle. Cat next to the can. The product sitting on a desk with props. Upload product + a reference for the context — the tool figures out how to combine them.
person holds the product, presenting to camera, soft natural window light, commercial advert
Upscale & Enhance
Double the resolution and sharpen. No prompt.
No prompt needed3 tokens
Upscale & Enhance
Double the resolution and sharpen. No prompt.
Final polish. Upload your render, get back a higher-resolution version with extra detail. Great as the last step before print or hi-res export.
Upload your photo and hit go. No prompt needed.
Create Concept
Describe a scene in words — no source photo needed.
Create Concept
Describe a scene in words. Get an image.
INSTRUCT prompt1 token
Create Concept
Describe a scene in words. Get an image.
No source photo. Just describe what you want — a building, a portrait, an anime character, a 3D toy — and pick the visual category (architectural, photoreal, anime, 3D, retro game).
modern villa, travertine and dark wood, golden hour, infinity pool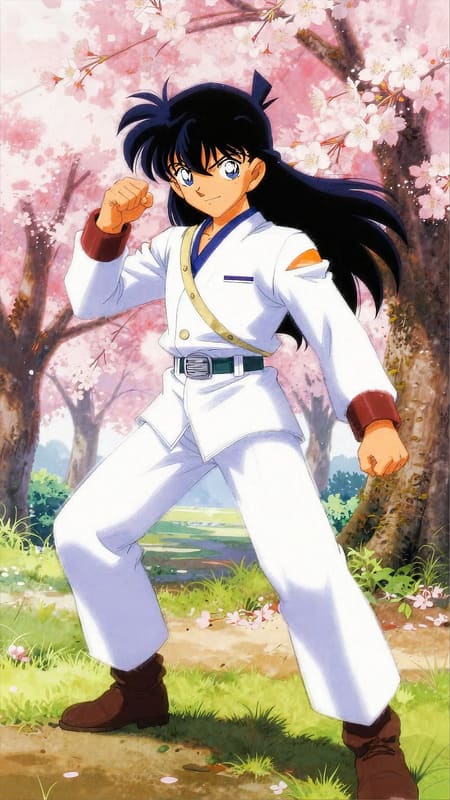
Background Swap Anime
Anime character + new scene.
ALTER prompt1 token
Background Swap Anime
Anime character + new scene.
Cel-shaded variant of Background Swap, tuned for 2D anime art. The character's line art and colors stay; only the scenery changes.
place the character into the new scene, vibrant background, preserve line art and shadingGlossary
Six words you'll hear a lot. Plain-English definitions.
- Render
- The image the AI gives back to you. The thing you came here to make.
- Prompt
- The words you type to tell the AI what you want. Short, descriptive, specific. Write in any language — we translate.
- Subject
- The main thing in your photo — usually a person or a single object. Most tools work hard to keep the subject identical.
- Background
- Everything around the subject — walls, sky, scenery. Some tools change only the background and leave the subject alone.
- Token
- One credit. Most tools cost 1–3 tokens. You get 20 free every day; topping up adds more on top.
- INSTRUCT vs ALTER
- Two ways to write a prompt. INSTRUCT = describe what you want from scratch (no input photo). ALTER = describe what to KEEP and what to CHANGE about an existing photo.
Ready to render?
Sign up, get 20 free tokens, and try any tool above. Free top-up every day.